


If you’re good to your floors, they’ll be good to you! But fall into these pitfalls, and they might have a hard time forgiving you. This guide covers common mopping mistakes we’ve seen through the years and is full of tips and tricks to help you clean your floors like an expert.
If you have specific questions about caring for your floors, we’re here to help! Don’t hesitate to reach out to one of our flooring and design specialists.
1) Not sweeping or vacuuming before mopping.
We get it—sweeping before mopping may feel like double the work without double the payoff. Trust us on this one. Pushing around all of those hard surface particles with a heavy mop greatly increases the chance of scratching your floors! There’s also the possibility that they can get stuck in your mop head and continue to harm your floors in the future.
Another thing to keep in mind is that mops often merely push and cake a lot of that loose dust and grime into corners or tile grout, creating the need for more tedious deep cleaning down the road!
As an added tip, many vacuums now feature a hard surface setting. Using a vacuum on your hard surfaces rather than a broom can help mitigate dust getting swept up into the air. Be sure to check your vacuum first to make sure it won’t leave scratches on your floor.
2) Using the incorrect type of mop for your flooring.
We could write a whole book about the number of different mops and mop heads that are currently available, and the pros and cons of each, but for this article we’ll offer a quick n’ clean guide to the most common varieties that are likely to be in your pantry already.
Traditional or String Mop
When most people imagine a bucket-and-mop situation, this is what comes to mind. Its numerous thick cotton or synthetic fibers are durable and highly absorbent, making it a great option for heavy-duty tasks. Cleaning using figure eight motions tends to work best with this type of mop, but be mindful as this pattern can lead to missing areas of your floor.
When used properly, this type of mop can be used effectively on many flooring types, especially tile as it is able to scrub down into grouted seams. Flooring that is sensitive to high amounts of moisture such as unsealed wood floors, certain types of laminate, or other organic options are best cleaned using other methods.
Sponge Mop
This is the second most common type of “old faithful” mops we see in kitchens today. These feature (you guessed it) a large sponge, often with an attachment designed to wring it out during and following use.
This mop type is best used on smooth, sealed flooring types such as sheet vinyl, luxury vinyl flooring (LVF), sealed concrete, or even laminate, bamboo, and linoleum when care is taken to not oversaturate.
You should avoid using a sponge mop to clean tile, as it is notorious for not being effective at scrubbing into grouted seams, and rather leaves behind dirty water, causing browning and discoloration over time.
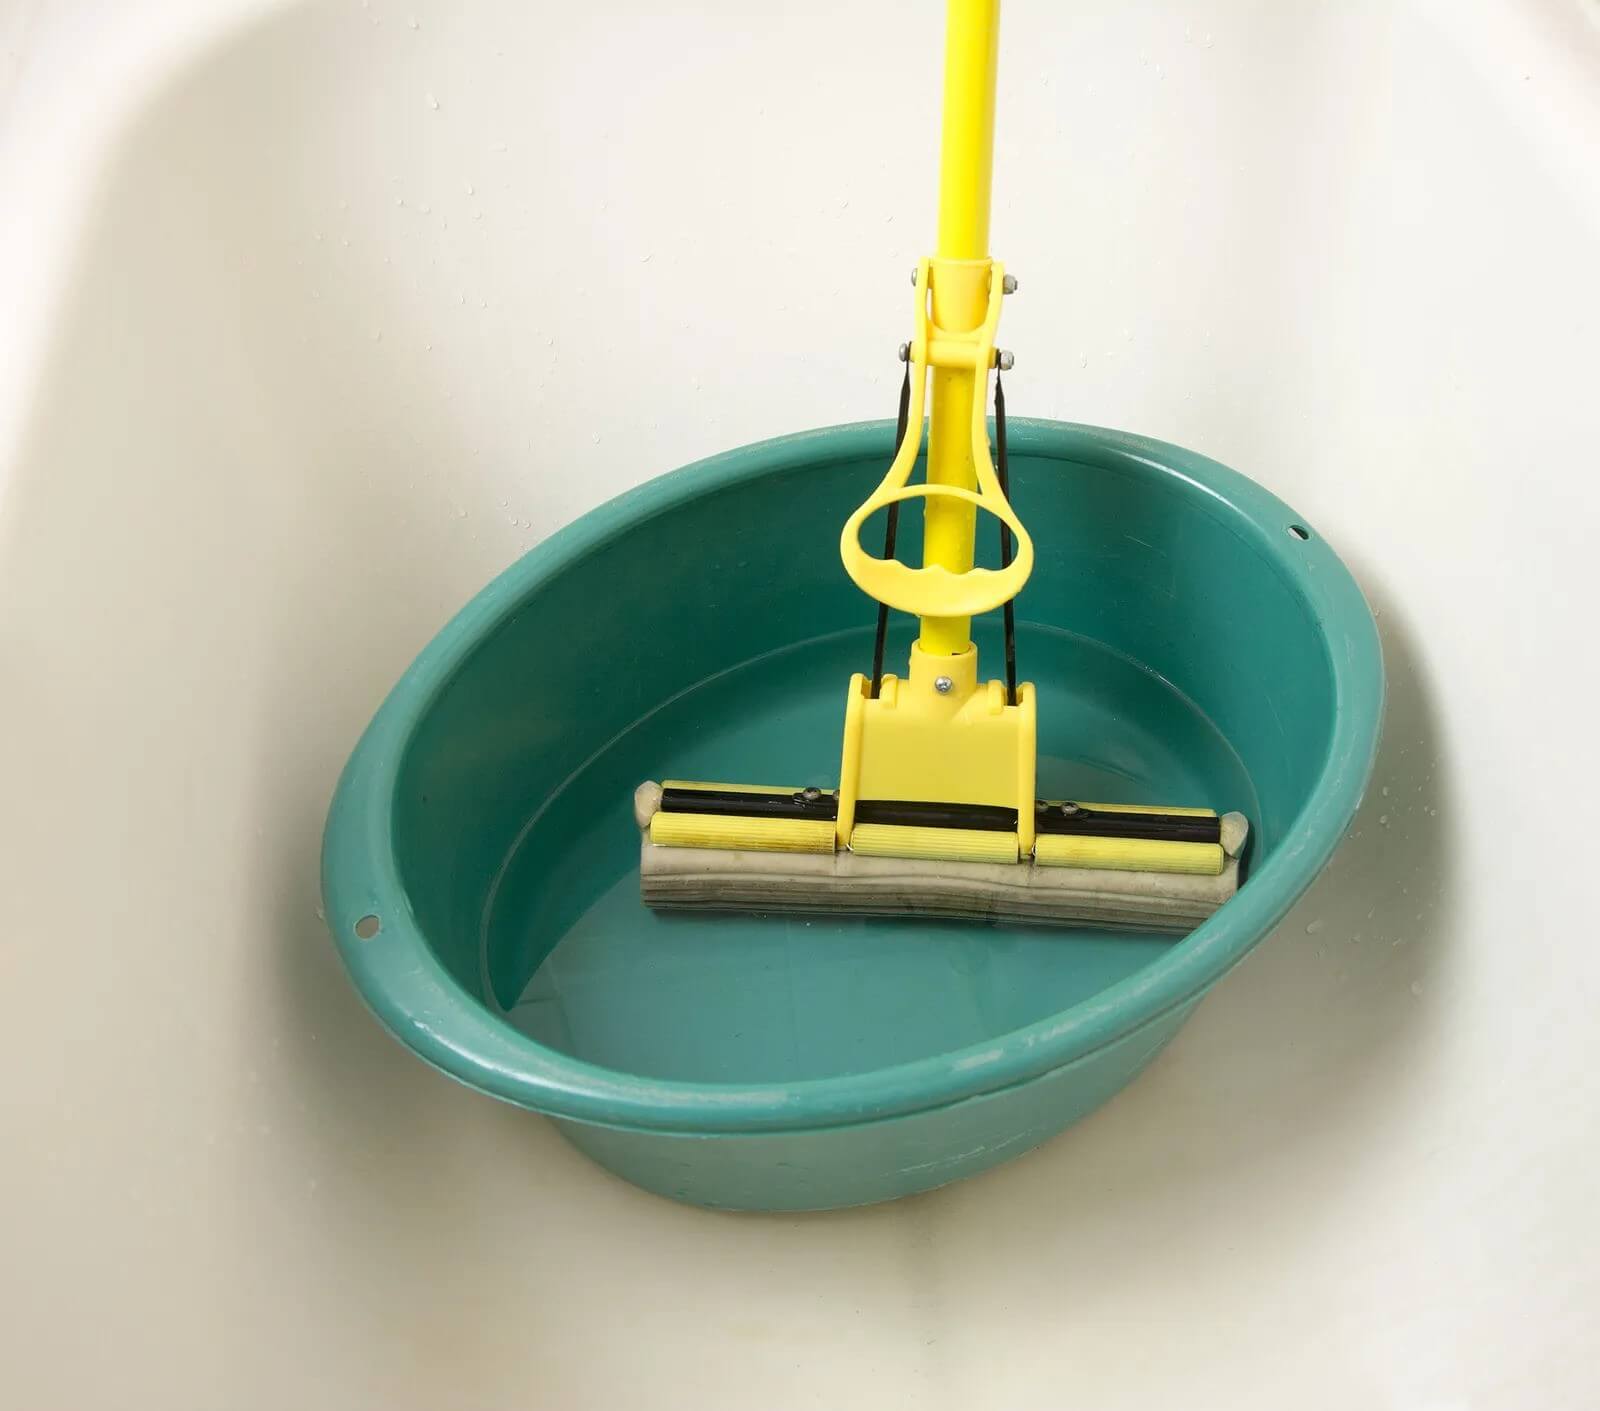
Microfiber Flat & Spray Mops

This type of mop has been rapidly increasing in popularity during recent years due to its compact size, as well as its ease of use and care. They are most often rectangular or round, and some include an attachable spray system and a refillable tank for cleaner. There are dozens of brands to choose from, and we recommend looking for one that features a removable head that can be thrown in the washer for simple sanitization after use.
One of the main benefits of a flat mop is that it can be used on nearly any type of flooring. In some cases its lightweight nature may struggle to tackle larger messes or a full spring cleaning, so we recommend having a string or sponge mop tucked away for occasional deep cleaning as needed.
Its ease of use makes it possible to add mopping to the family chore chart, too! Be sure to use non-toxic and environmentally-friendly cleaning products.
3) Using the wrong type of cleaning solution for your flooring.
There are two major issues we encounter here. First off, not all cleaners are created equal! Using the incorrect formula for your type of flooring could be causing damage or buildup that can discolor over time. Taking a moment to read the fine print before purchasing, and testing a new cleaner in a discrete area before sudsing up the whole space can make all the difference.
Second, we cannot stress this one enough: Dilute, dilute, dilute! Getting that ratio just right is more important than you might think. Too much and you’ll be left with streaks and an unsightly buildup that can even eat away at certain types of flooring. Not enough and you may not be actually eliminating bacteria!
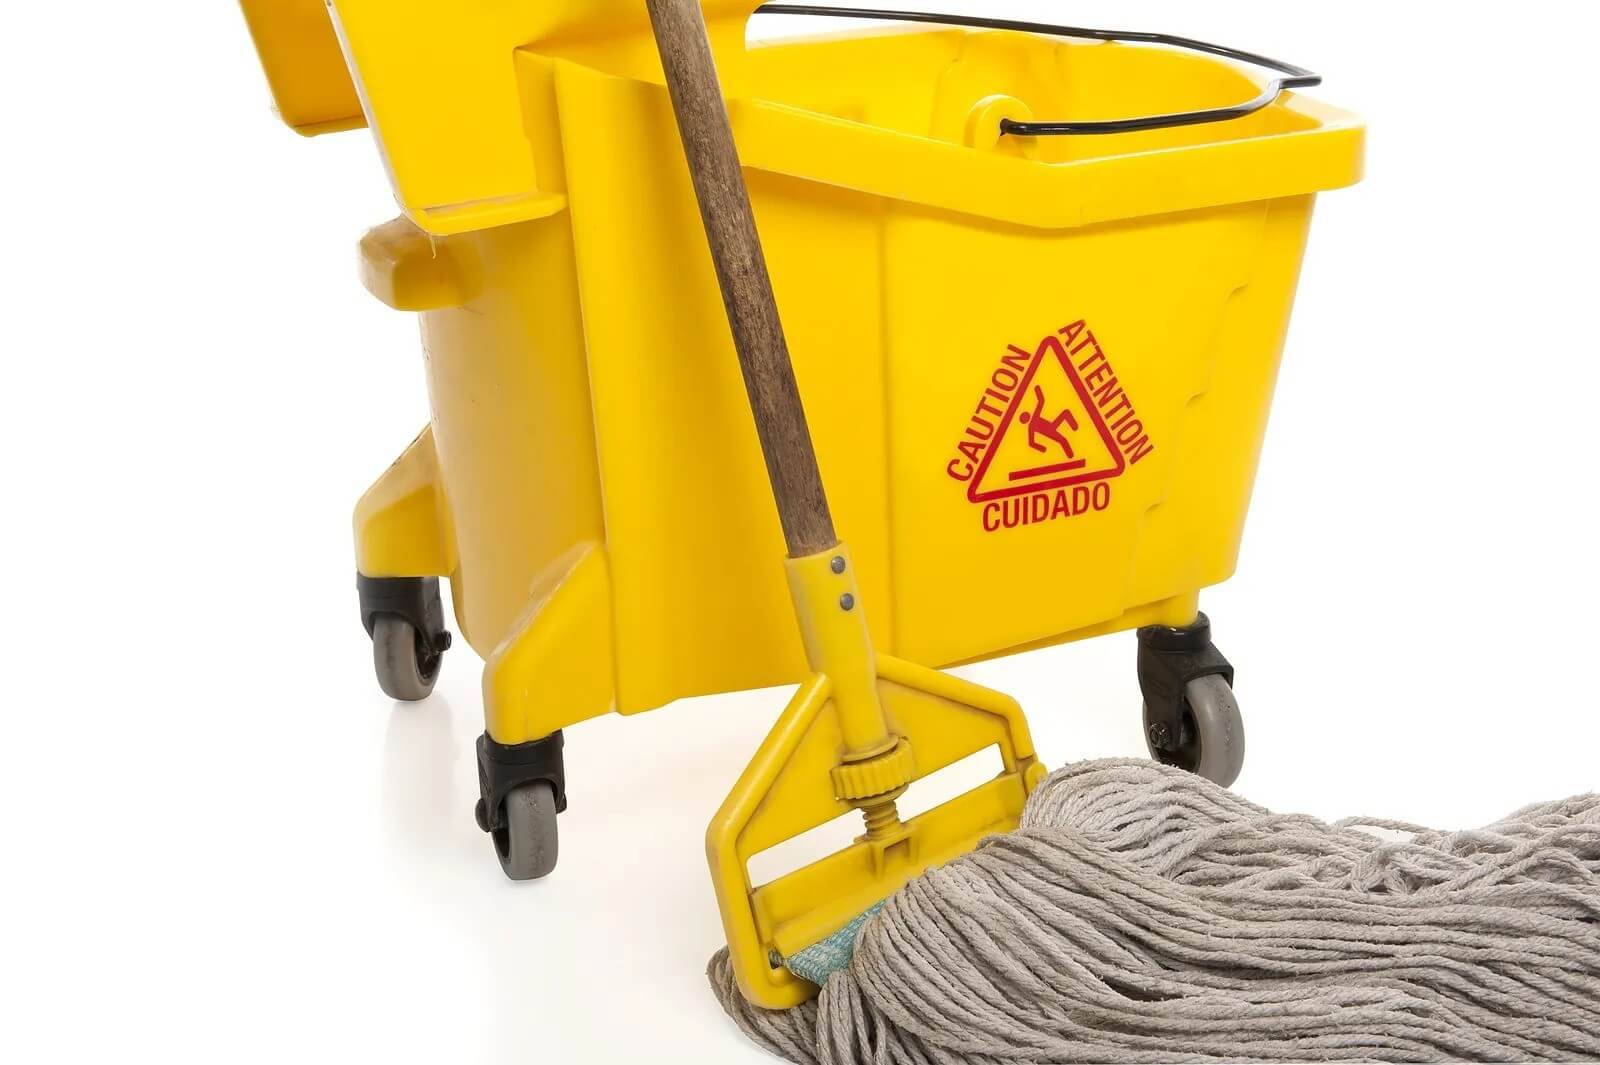
4) Not using a second “clean rinse” bucket.
When using a string or sponge mop, you should have two buckets. One for soaking and wringing out as much dirty water from your mop as possible, and the other for refreshing your mop with the correct amount of clear water and cleaning solution before going back to tackle the next area.
One of the concerns we hear regarding traditional mopping is that customers feel that by the end of it they are simply spreading dirty water across the room—this method prevents that!
5) Soaking your floors.
There’s rarely ever the need to “soak” your entire floor. Not only does it actually cause the job to take longer, it also increases the chance to leave streaks or damage seals (or wreak havoc on unsealed floors). Damp mopping is the way to go. No matter what type of mop you prefer, make sure you’re wringing it out thoroughly between areas to avoid leaving behind any standing water. Investing in a wringer bucket or spin mop can help simplify this step.
Again, string and sponge mops should be able to handle even dried-on messes, but if something is especially stubborn we recommend scrubbing it by hand. Laying a damp paper towel over the spot for several minutes can help start to loosen it up if you’re still having trouble.
6) Drying floors after cleaning.
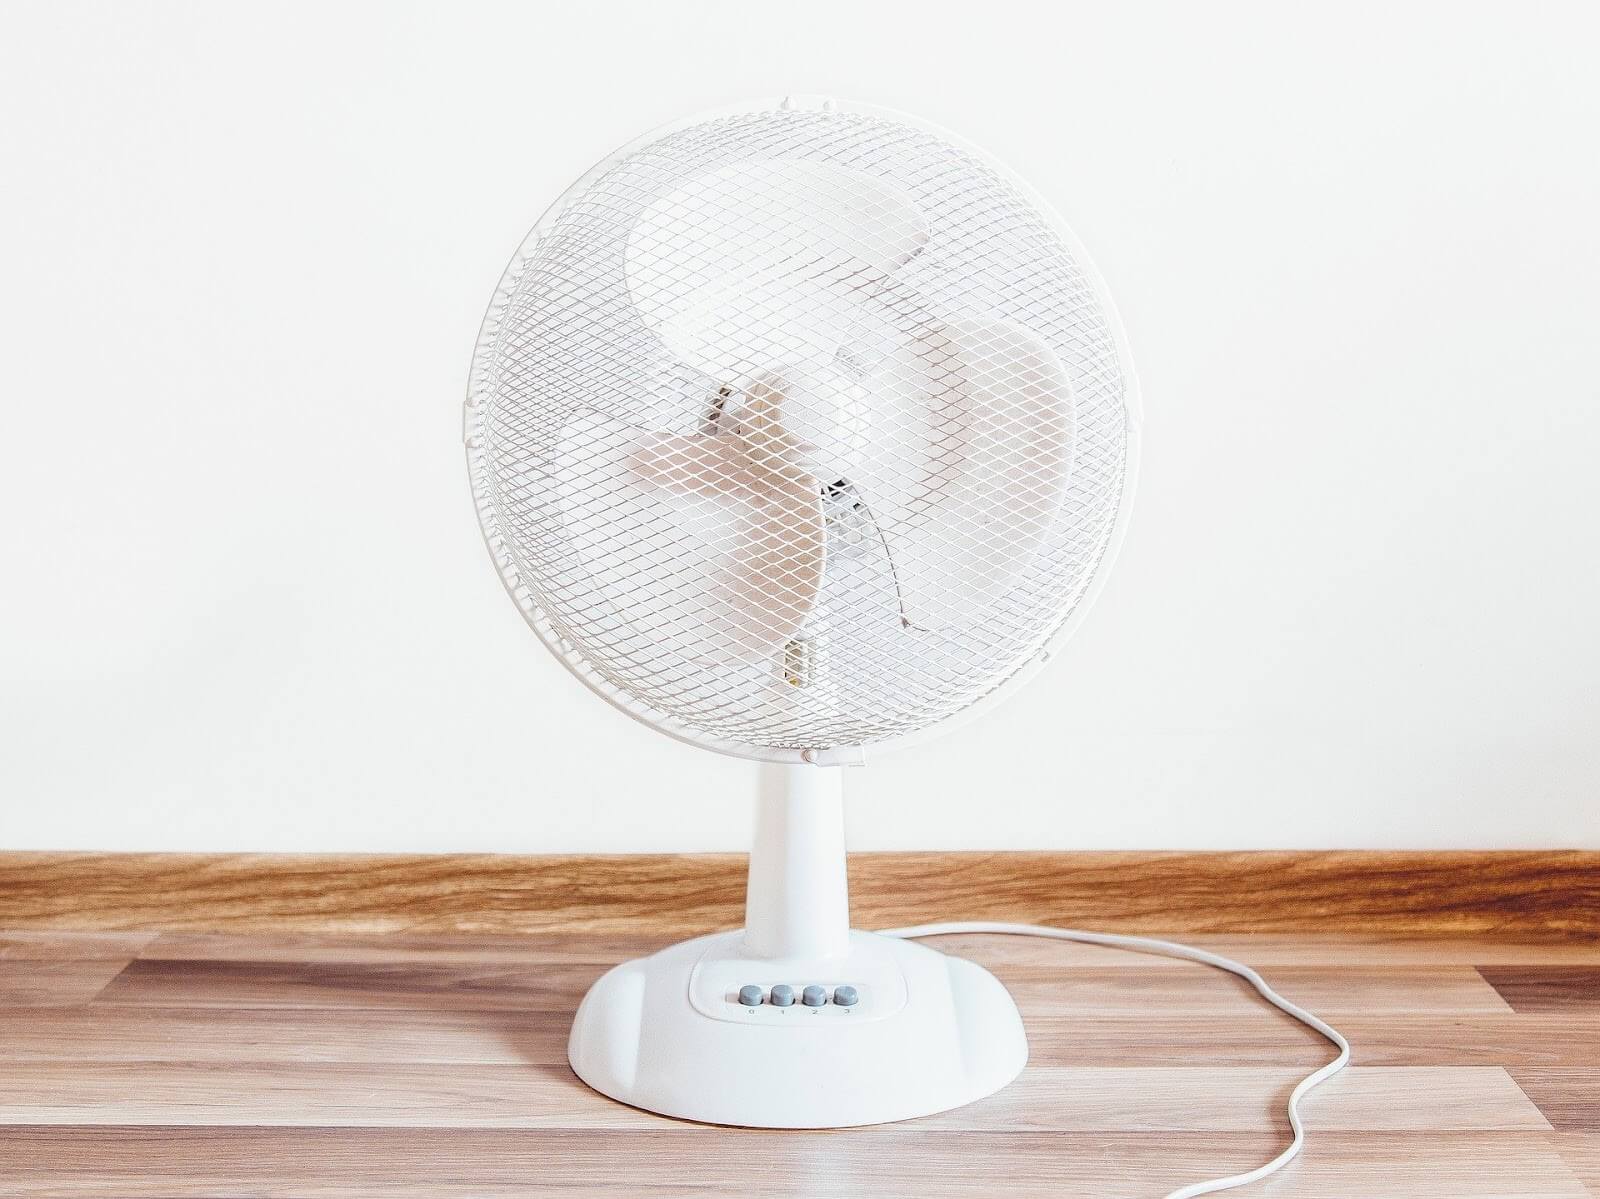
This one is just as important as the last one! As tempting as it may be to turn on the ceiling fan or use a towel to speed up the drying time once you’ve finished mopping—good old fashioned patience is the way to go. Flooring disinfectants are the most effective at eliminating microorganisms and other nasties when they’ve had 5–10 minutes of contact with them.
7) Not cleaning/replacing your mop head.
You wouldn’t dream of cleaning your kitchen with a dirty rag, and you should think of your mop the same way! One of the reasons we love microfiber flat mop heads is that you can simply throw many brands of them in the laundry with your dish towels.
For string and sponge mops, do your best to thoroughly rinse and wring them out until the water runs as clear as possible. In addition, make sure they are able to dry thoroughly between uses, and keep a careful eye (and nose) for discoloration or unpleasant smells which are sure signs that it’s time for a replacement. A good rule of thumb is to have some spares on hand and switch them out every 2–3 months depending on frequency of use.
In Conclusion
How many of these deadly sins of mopping are you guilty of? Don’t worry, there’s no time like the present to step up your game! Your floors are sure to thank you.
Do you have any specific questions about how to best care for your particular flooring in your kitchen, bathroom, or elsewhere? Chat with one of our friendly experts in person, via phone, or online!